4 Tips For Better Product Photography
A picture is worth a thousand words, and nowhere is that truer than in product photography. You can describe your products in detail, (and indeed you should) but without an image to look at you’ll struggle to get anyone’s attention.
A well shot photograph is your first step towards assuring customers of its quality, as well as clarifying what your product even is, which is something you can’t afford to slack off on.
Here’s 4 easy-to-implement tips that anyone can use to improve their product photography.

1. Good Lighting is Key
The one element that’s going to make or break your photography above all others is the lighting. Poor lighting can make even the most beautiful of products look ugly and unappealing. If you only take heed of one of these tips, let it be this one!
Good lighting means it’s not dark and gloomy, not excessively bright, and the colours of your product are true to life. Things that are white in real life coming out looking yellow in photos is a common symptom of bad lighting. It’s possible to partially correct for bad lighting with digital editing, but you’ll get a much better result if you shoot the image correctly to begin with.
Achieving good lighting is easy if you have your own photo studio, but for those of us who don’t, we have to be a bit cleverer. Luckily for us natural light is free, easy to use, and it always looks great.
Shooting outside or next to a large window is an easy way to light your products for shooting. If you don’t have a suitable window and can’t go outside, on the floor in front of an open door is also an option.
The strength of the light and your distance from it will create different shadows, so play around until you find a look you like.

2. Shoot in High Resolution
Now for the second most common product photography ailment, low resolution. If your product images look jagged and pixelated, your resolution is too low.
There’s no longer an excuse for low resolution images in the era of powerful camera phones and high-speed internet. Presenting customers with pixelated images makes your products look cheap and amateurish.
Like lighting, this is a problem that often starts at the source, so that’s where you should look to correct it. Unlike lighting however, there’s no improving a poor resolution, so start yourself off on the right foot.
If you’ve got the budget to spend a few thousand dollars on a DSLR camera and the lens to go with it, fantastic, enjoy your shiny new toy. If you don’t, there are other ways.
For a start, don’t worry that your camera has to be brand new. Any good DSLR from the last 10 years or so will get the job done just fine, so picking up an older model for cheap is a valid option.
And then of course there’s camera phones, which are an increasingly practical way of shooting professional photographs. If your phone is newer than your camera, then you may just be better off shooting with that instead.
Whatever you end up going with,
aim for something with 12 megapixels or more to ensure you’re getting the resolution you want.
3. Stabilise Your Camera
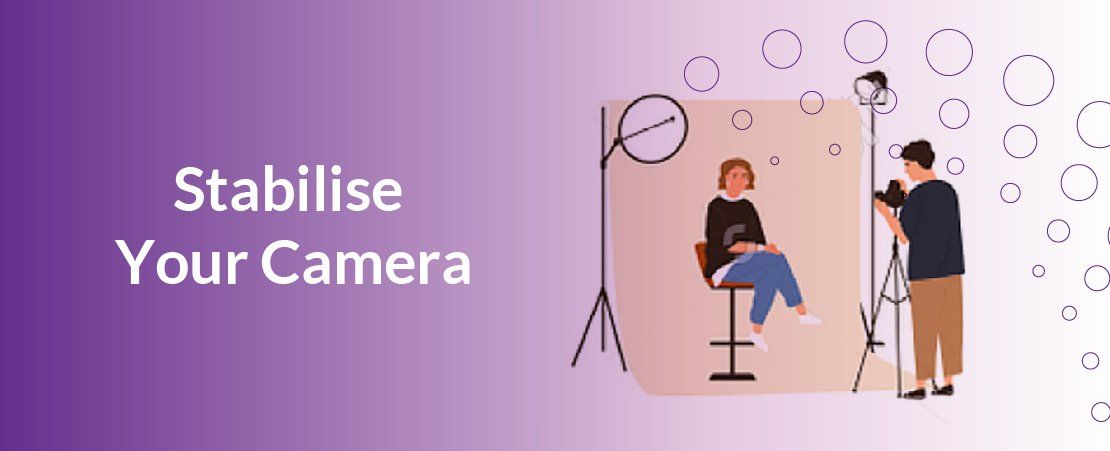
A wobbly shot will lead to a blurry, out of focus photograph, so it’s important to stabilise your camera. You can do this with an elaborate stack of books if you wish, but a tripod is the much better option.
If you’re using a DSLR, a basic tripod or mini tripod can be picked up pretty cheap, usually around $100. If you’re using your phone, it’s a similar story.
Just make sure whatever you get will fit your camera or phone properly.

4. Consider Your Backdrop
Finally, consider what will be behind and around your product when you shoot. A cluttered or dirty background distracts from your product and confuses customers, do yourself a favour and keep it simple and clean.
For especially large products (eg. car parts, furniture) you’ll want to find or make a clear space against a wall with good lighting where you can set up your photo shoot. For everything else, set up a table and prepare your backdrop.
A blank white backdrop is the standard most people go with, it’s easy to work with and doesn’t change the look of your product in any way. A white backdrop can be easily achieved with a large sheet of paper (roughly A1). You can also use fabric, but smoothing out the creases can be a nightmare.
If you want to create that “white void” effect you commonly see, the trick is to curve the backdrop rather than fold it. A fold will create a corner that shadows can gather in. Tape, blutack, or bulldog clips will be helpful here.
Some people like to add extra objects into a shot to create a small scene. This can be a fun way to bring your product to life, so look up some inspiration and have a play if you feel like it. Just make sure to always have at least one shot showing the product on its own, remember that clarity is the goal of all product photography.
That’s all it takes, good photographs really are that easy. Follow these four simple steps and you’ll have fantastic product photographs that show your wares at their best, every time.


Your Website, Your Rules: How Inexpensive WordPress Hosting Empowers the Aussie Small Business Owner
